WaaveComplete install instructions for WooCommerce Merchants
Installing our WAAVEComplete Plugin
1. Login to your Wordpress account (example: https://waavestore.online/wp-login.php)
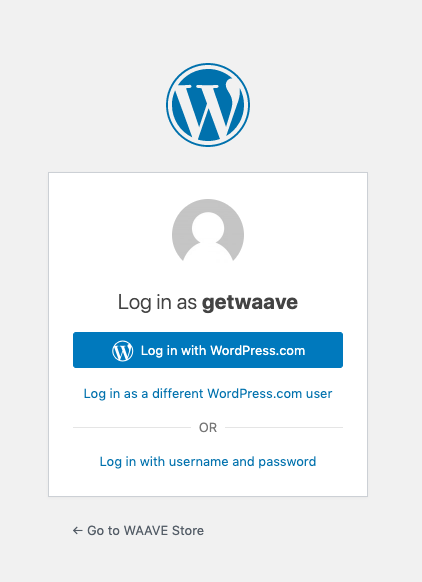
You might log in via WordPress or via BlueHost, you just need to find the backend of your store
2. Go to Plug-ins > Add New
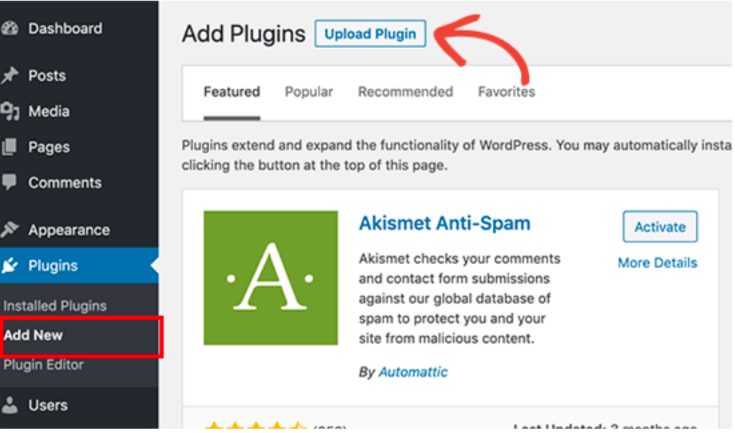
3. Upload Plugin: This will reveal the plugin upload form. Click the ‘Choose File’ button and select the
plugin file. You can use the .zip file without unbundling.
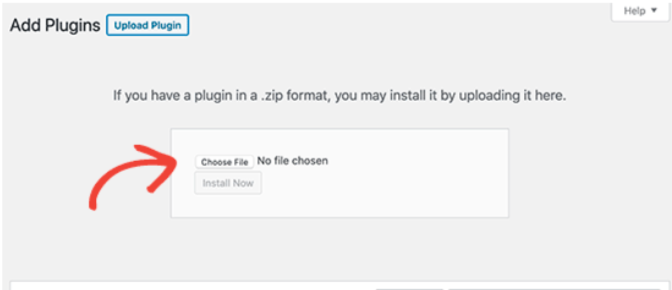
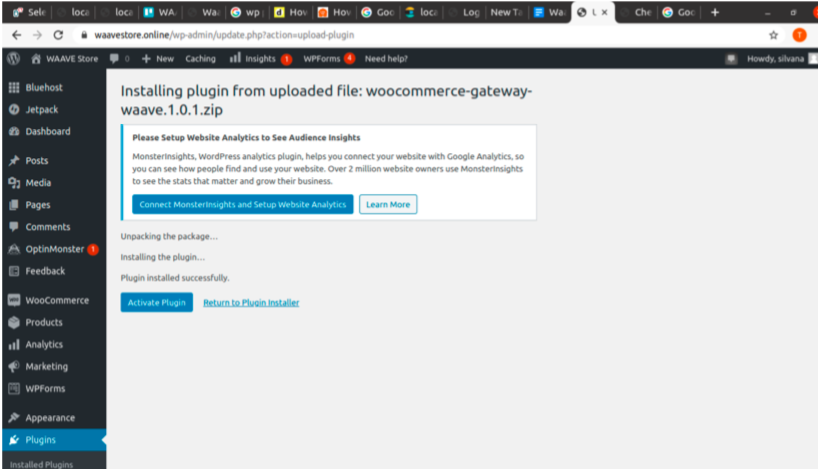
4. Click on the ‘Install Now’ button.
WordPress will now upload the plugin file from your computer and install it for you. You will see a success message like this after the installation is finished.
5. You need to click on "Activate Plug-in"
Configuring the Plugin with your Merchant information
Your merchant information is under Profile > Configuration in your WAAVE Merchant Dashboard.
Sandbox mode: Please request Staging Credentials if you need to test prior to deployment
Configuring your production setup:
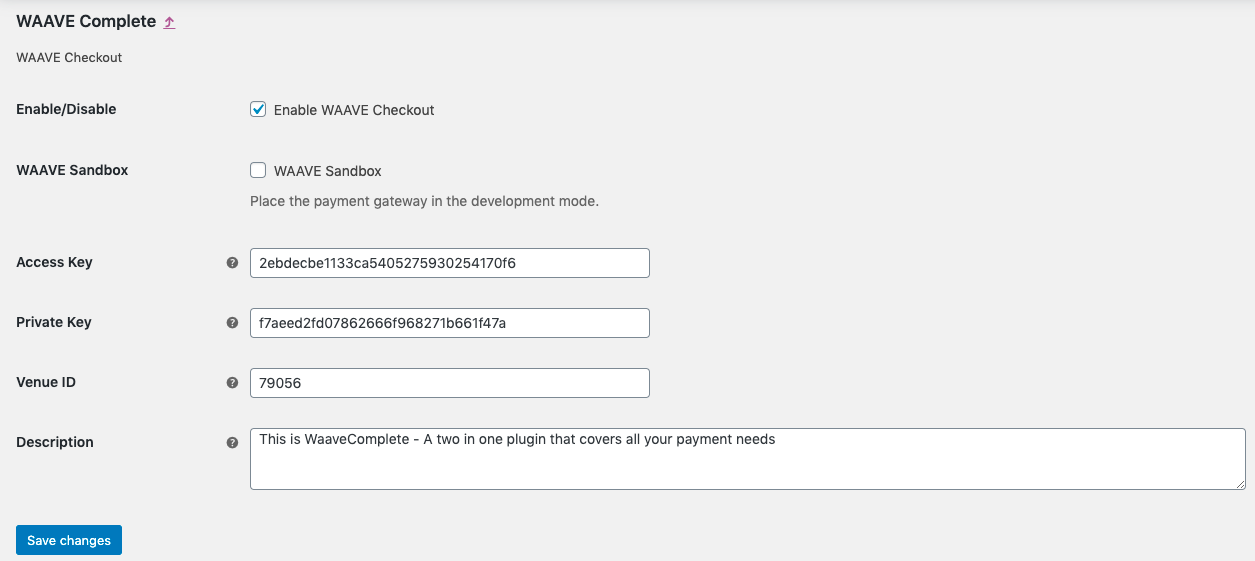
1. Check the enable WAAVE Checkout
2. Uncheck Sandbox as you are about to go live (what we call "deploy in production")
3. Copy and paste your Access Key and your Private Key
You can find them both on your Profile inside the WAAVE Merchant Dashboard
Access key> Use the PUBLIC key from the WAAVE Dashboard
Private key > Use the PRIVATE key from the WAAVE Dashboard
4. Copy and Paste your venue ID
5. Description: This is a short description for WaaveCheckout (example: Create an account and pay with your favorite every time you shop with us)
Save to go LIVE!